We are thrilled to see that many course participants now have their Golden Fleece Circular Looms in their hands and are already beginning with the fun that is weaving in circles! If you haven’t yet received yours and are expecting it, don’t worry, its not long to wait now. One of the reasons we love these looms so much, and also Majacraft who produces them, is that each and every one of these has had so much personal care and attention, first cut, then etched, and hand sanded ready for finishing, there is a lot of handwork goes into creating even these simple objects! I like that a lot, that the tools we are using has been made by hand, one at a time, and we continue the creation process with these items, so start to finish – human!
We are beginning to see some really beautiful weavings being posted on the Golden Fleece Facebook page too. For the course and Certificate there is one final piece required, and we will be working on that with the looms (although there are other choices for those not inspired to weave) in the final module. We will also be exploring more techniques for creating different features within the weaving at that time. But of course, it is wonderful to see how enthusiastic everyone is to get cracking and use their looms ahead of Module 8!
This is a great feeling, to see something I had a hand in creating, being used in so many beautiful and inspired ways. So with this in mind I thought I would share here a few ideas I have had about using the circular loom. As well as the ‘Getting Started Tutorial‘ I will also be making a second tutorial with more tips and techniques for adding interest to these cool weavings, but that is going to take a little time yet, so in the meantime… 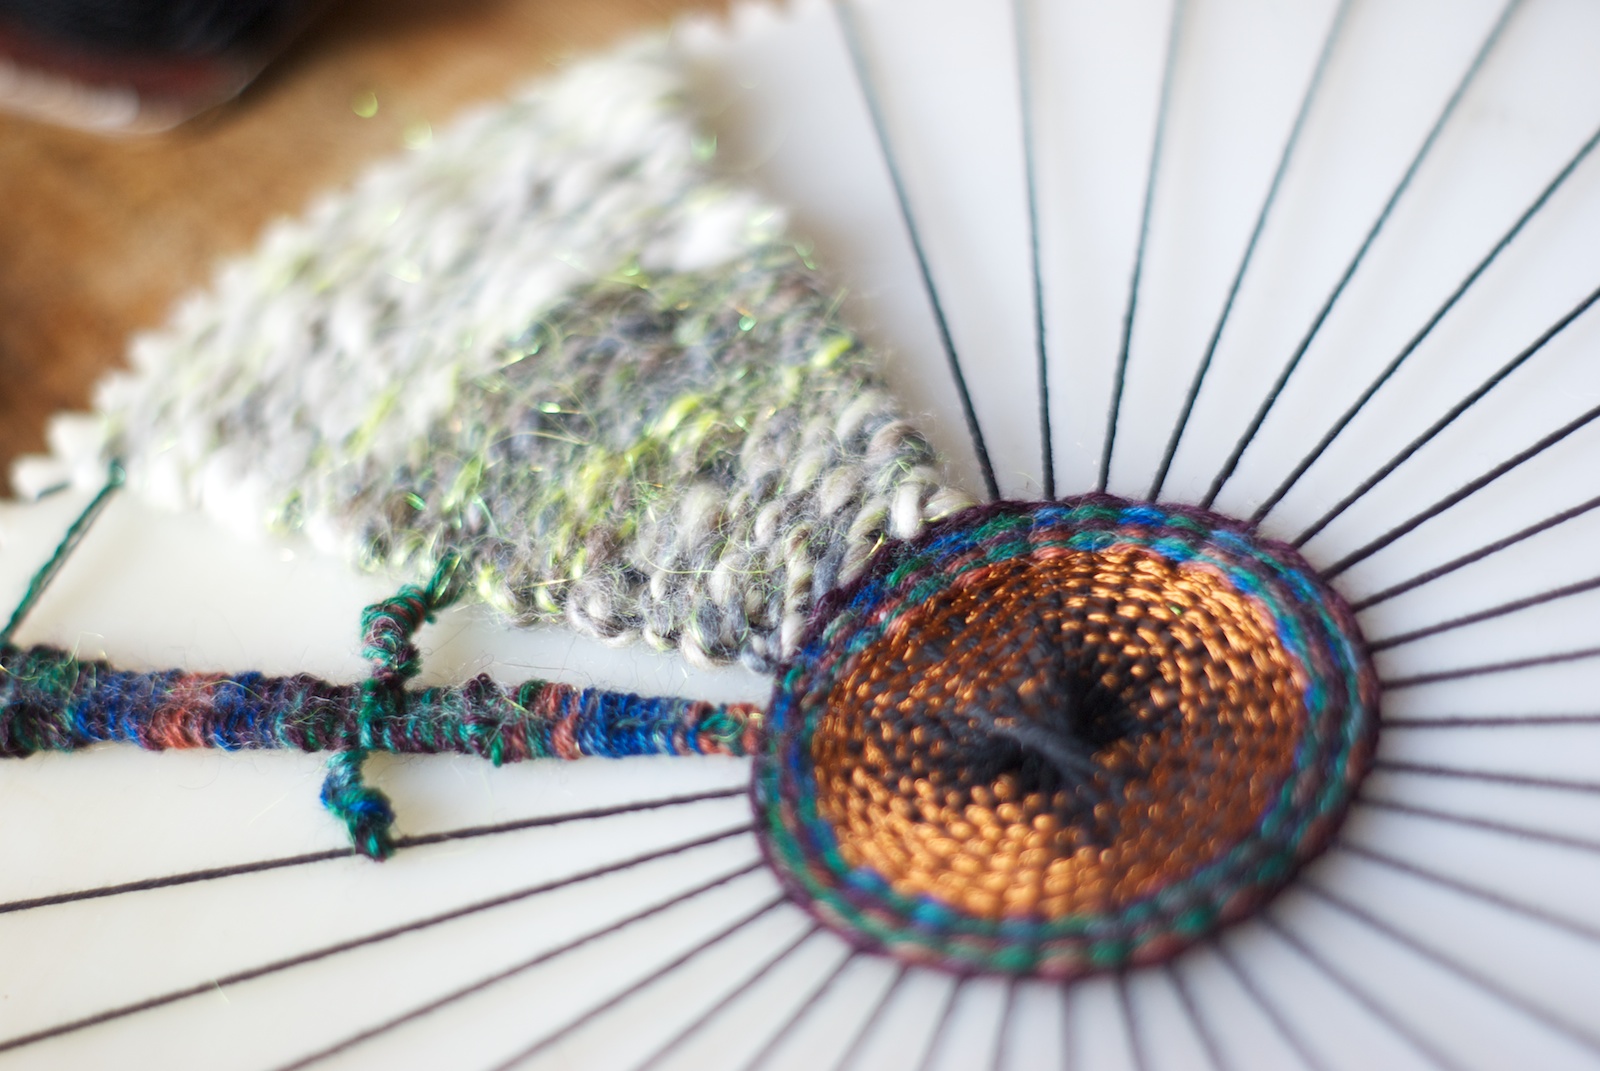 Heres an idea for making ‘sections’ in your circle, a little like the clasped weft that I described in the tutorial, except here its not actually clasped or joined, just turn your yarn and go back the other way using however many warp threads as you like to create a separate section, you can make wider sections or even just use two warp threads to make a narrow strip. Its not necessary to go all the way around the loom with each row, you can work on one section at a time, even weaving right to the edge, before going on to the next section.
This can also be used to create patterns like this:
 I created this by working on each section at a time, in this case, after making my initial circle, I wove back and forwards across just 9 warp threads for about 8 rows for each section, then reduced that to 7, and after a few more rows to 5, then 3. Once the shape was the size I wanted, I moved to the next one, weaving in the ends as I went. You can see each ‘step’ where I reduced the width. When I had all four sections woven, I took my thicker yarn and just made some full circle rounds to enclose the design, afterwards doing the same with the fairy light yarn I had spun for this project. I made a final round with a super bulky nply art yarn with lots of sparkle in it!
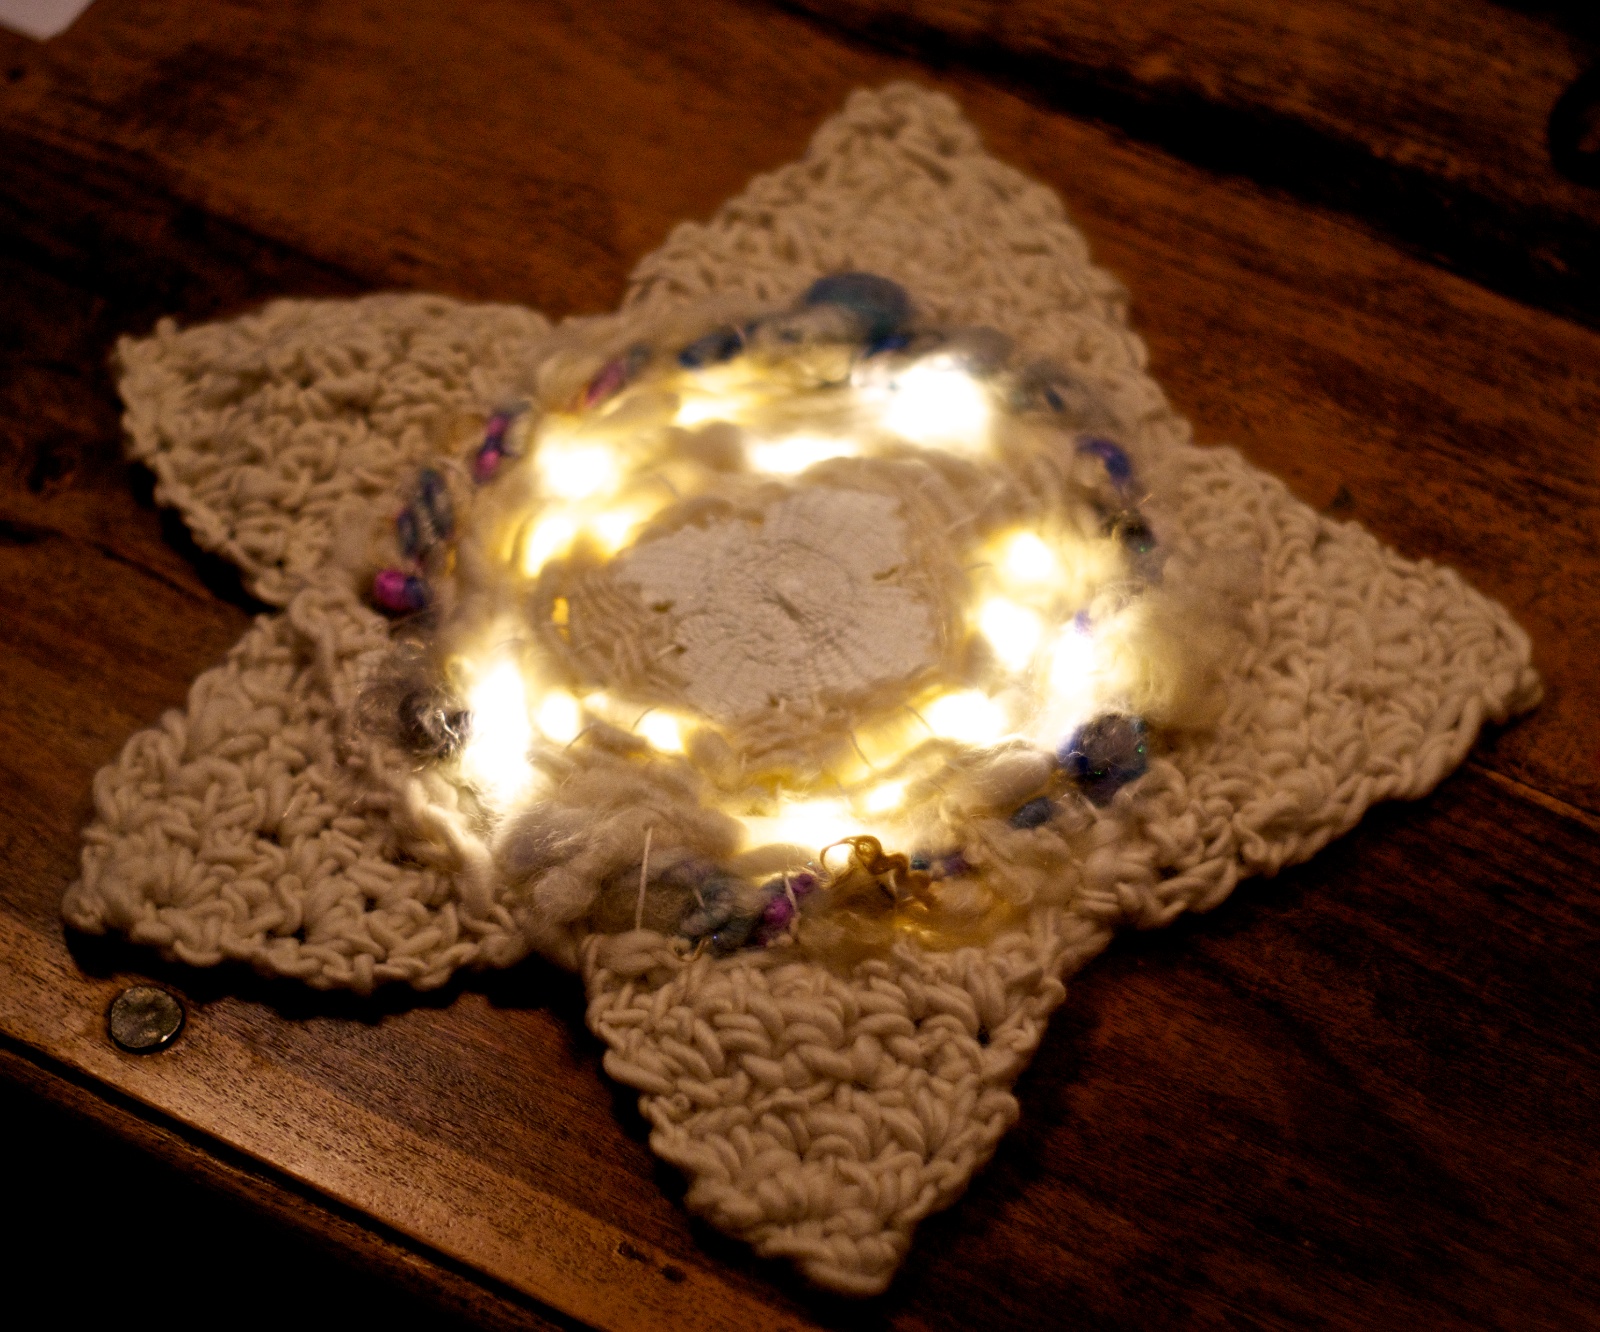
But the fun doesnt have to end when you get to the edge of your Circular loom! Once I finished with the weaving on this I removed it from the loom and attached some triangles I had crocheted. Attachment is easy, take the crochet hook with your last triangle stitch on it, push your hook through the outer row of the weaving (or two rows if you feel it needs extra stability) and pull through your yarn to make a slip stitch, then chain one and repeat, basically sewing the pieces together. You could also sew them with a darning needle.
I made the triangles by starting with 2 chains then single crocheting two times into one chain, then chain one, turn and single crochet two times into the first stitch and repeat for the second, chain one, turn, and increase again with two single crochet into each of the end stitches on the row, single crochet in each stitch in between. Chain one, turn, and single crochet into each stitch. Chain one again and turn for the next row, increasing again with two single crochet into the first stitch, continue with single crochet in each stitch and on the last increase again with two single crochet in the final stitch. Repeat these last two rows until you have a triangle the size you want.
You could also, instead of triangles, make chain loops, flower shapes, or just two or three rows of single crochet around the entire circle! Freeform is cool 🙂
I am really sure once you start with circle weaving you will find it as addictive fun as I do! There are so many possibilities! I am currently building up a little collection of completed circles, all quite different, and I plan on joining them all together into a wall hanging, or maybe as a big throw with a cotton cloth backing.. There is also one that is marked for use as a feature on a leather bag, and one of these days one will also appear on the back of my denim jacket 🙂 So many plans…
I am looking forward to seeing more and more inspiring circular weavings being shown on our Facebook page!
And here we are at the end of the blog post for this week! If you are enrolled as a student, please look for your email today, there is something of a Christmas present to you from Arlene and I in it, and next week we hope to have our Vlog ready to share!
Suzy
XOXO

How beautiful!! I have been away from spinning and sold many of my fibers. I would love to try this type of weaving and re-awakening my love of fibers!
So glad that I did not hurry to weave. I am liking the options of actually creating a design. My mind goes back and forth a lot, so having pieces not connected will work well. Not having to use the yarn in a circular pattern will give me some freeform ideas. I don’t have time to make more than one, since I run a shop and do so many shows, so I will keep saving yarn for the final weaving. Such a relief!
LOL, when I finally get the last rows on the one I started earlier this week, you will see I used this technique already. But I still love yours and may just have to do a little copying!
Just received my loom on Saturday,time to give this little loom a spin/ weave .