This week we are starting a new blog feature, ‘ask Suzy’, in which we will offer handy tool tips or tricks, and answer (as best we can) any questions that you send in about fiber related tools and equipment.
The most recent question to hit my inbox was someone enquiring about the difference between the fiber prepared on a hackle and drum carded roving, with the focus on ‘which tool should I buy’.
My best answer to this, is that each preparation method will give you fiber that is most suited to a different kind of spinning method. We are going back to the old ‘woolen and worsted’ methods and choosing whatever suits your project best. Check out our previous blogpost on these different kinds of yarns! The hackle is amazing for worsted preparation and the drum carder a very efficient way of making fiber ready for woolen or semi-worsted yarns.
So basically before you make a decision on buying any tool its a good idea to do a bit of research on the kind of fiber preparation each tool produces. Essentially, the hackle will help you create combed fiber for a lovely smooth worsted spin, and the carder will produce carded fiber that is lofty and airy for a fluffier spin, its a good idea to decide what the fiber will be used for and the way you want to spin it.
What follows is an excerpt from our ‘Colour Blending Course’ and is an overview of different types of fiber prep tools. We would love to receive any of your questions or if you have a tool and would like some extra tips for its use, send us a message through our contact form and we will do our best to answer in the next blog post!
blending methods overview
There are a number of different ways to blend colours in fibre, and each one yields a different result, so choosing the way you blend is really important to the final yarn you will spin from your fibres. You can comb, card (hand card or drum card) use a blending board, or blend your colours on a hackle, you can also ‘pick’ with a ‘picker’ or also by hand, mixing your fibres and colours without needing any special equipment at all. What follows is a brief overview, which will be continued in more detail later with a section on each method, including tips and blending ideas.
Combing is one of my favourite methods of blending, there is something magical about watching the different colours combine and mix, and you have total control over how much or how little you allow them to blend. Combing will generally give you a fairly even colour blend, with no clumping of colours and each addition to the mix melded through to make a wonderful whole. Adding in a ‘surprise’ colour is fun because you can change the tone easily, for example, adding a neon yellow to a blue green mix will lighten and brighten, even after the actual neon has ‘disappeared’ into the mix. Combing to blend colours, to me, creates a magical fairy mix and the results are beautiful, you can also add in your favourite sparkles and get those evenly dispersed through the colour as well, very satisfying!
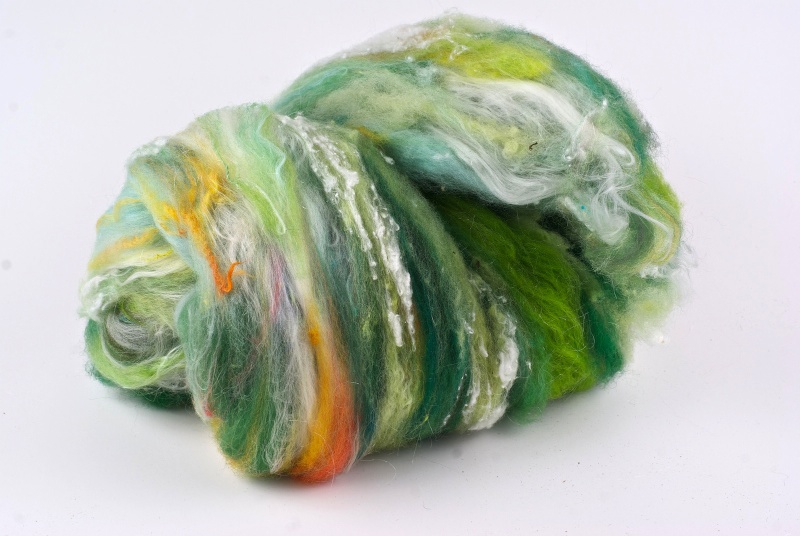
Drum carding allows for many different effects, you can make your own graduated batts to spin a wonderful graduated yarn from, you can make stripes, and you can layer colours to make a crazy mix of barber pole effects in the yarn you spin from it. You can also create more homogeneous blends by sending the batt through the carder several times. Colour-wise this can be similar to the effect you can get using hand combs, but the preparation will be fluffier, more ‘woollen’ and lofty with the fibres carded, compared to the smoother, more organised combed preparation.
One advantage of using a drum carder is the quantity of fibre you can produce in one go, you will get an entire batt of this single blended batch, and reduce the risk of inconsistencies that are possible when making smaller amounts of colour with combs or hand cards. Each time you need to reload the fibre onto these smaller tools there is a chance you will not get the exact same proportion of colours and the result can be slightly different each time. This risk can be reduced by weighing your fibres and following your recipe, and you also might like the effect of lots of smaller batches of slightly differing shades, its just something to keep in mind when you are choosing your tool for the job.
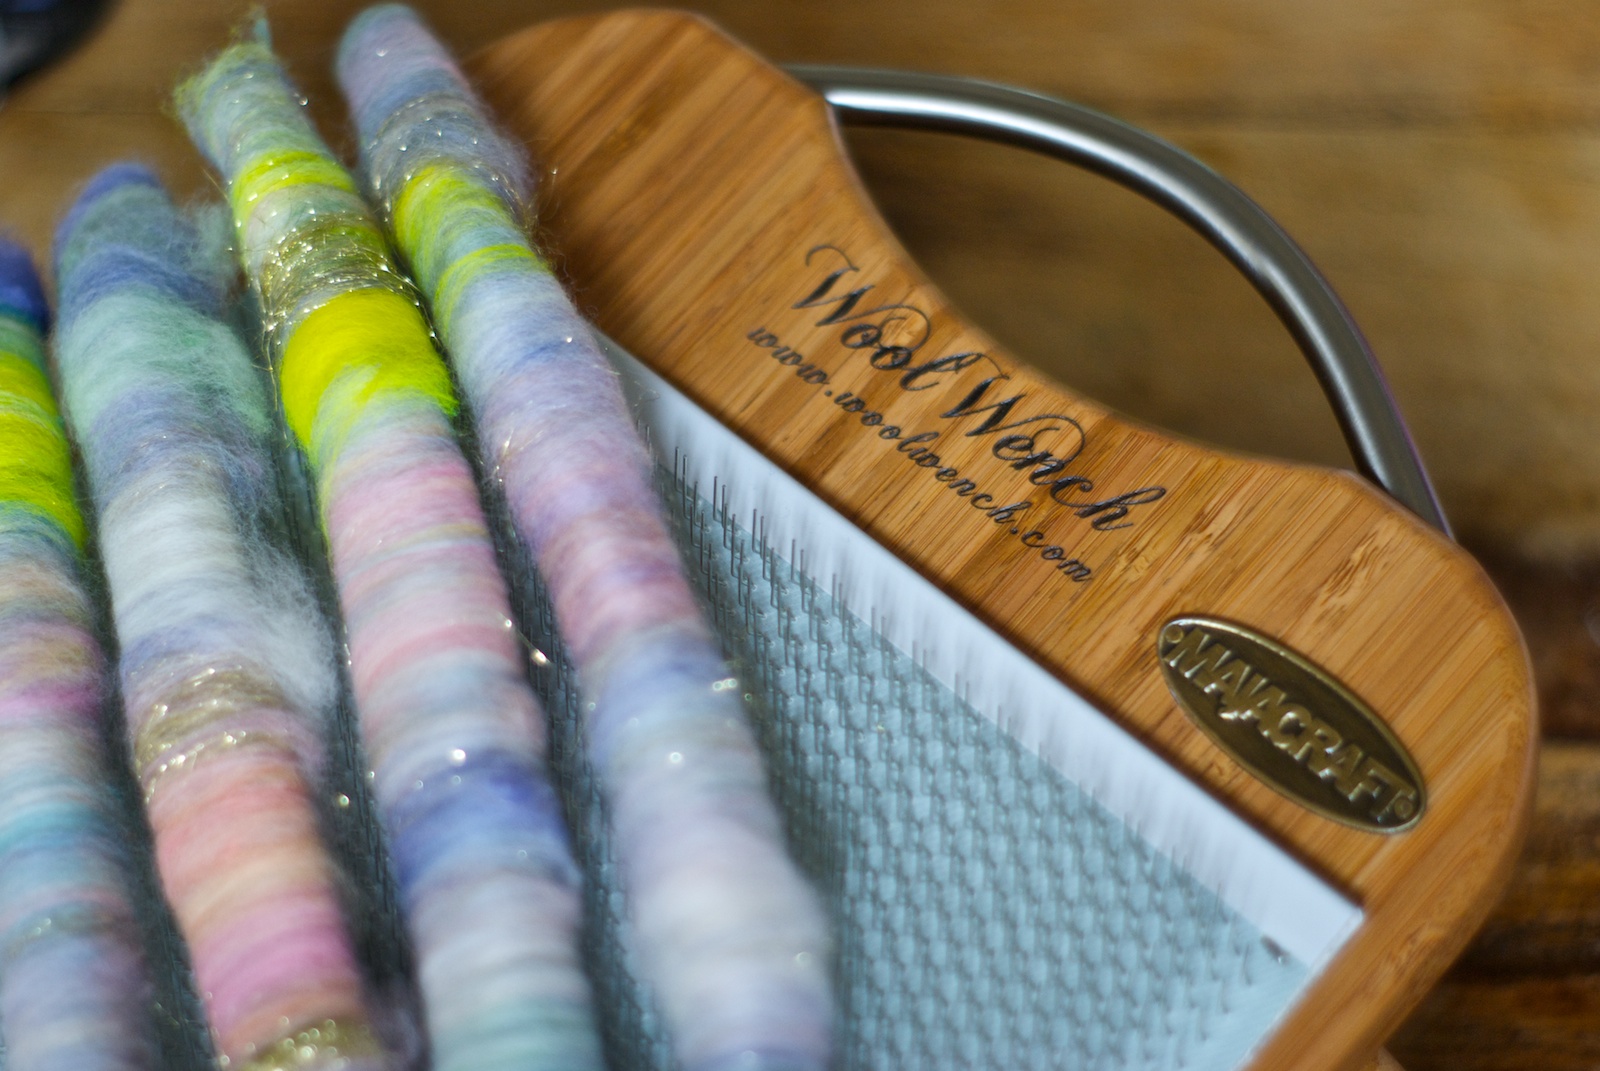
A blending board is sometimes seen simply as an alternative to a drum carder, however you can get very different effects when blending on a board, you have complete control over colour placement, and the fibres do not get mixed up together nearly so much as when putting them through a drum carder. Rather than using the blending board to mix up colours and blend them together, its best use is to combine them in specific ways, generally keeping each colour separate with minimal blending, its more like painting than baking! Painting colours randomly onto a blending board and then turning the result into rolags, can produce a yarn that I think of as ‘mosaic-like’, with many small splashes of lots of different areas of colour, when that is also plied on itself it can make a very pretty effect.
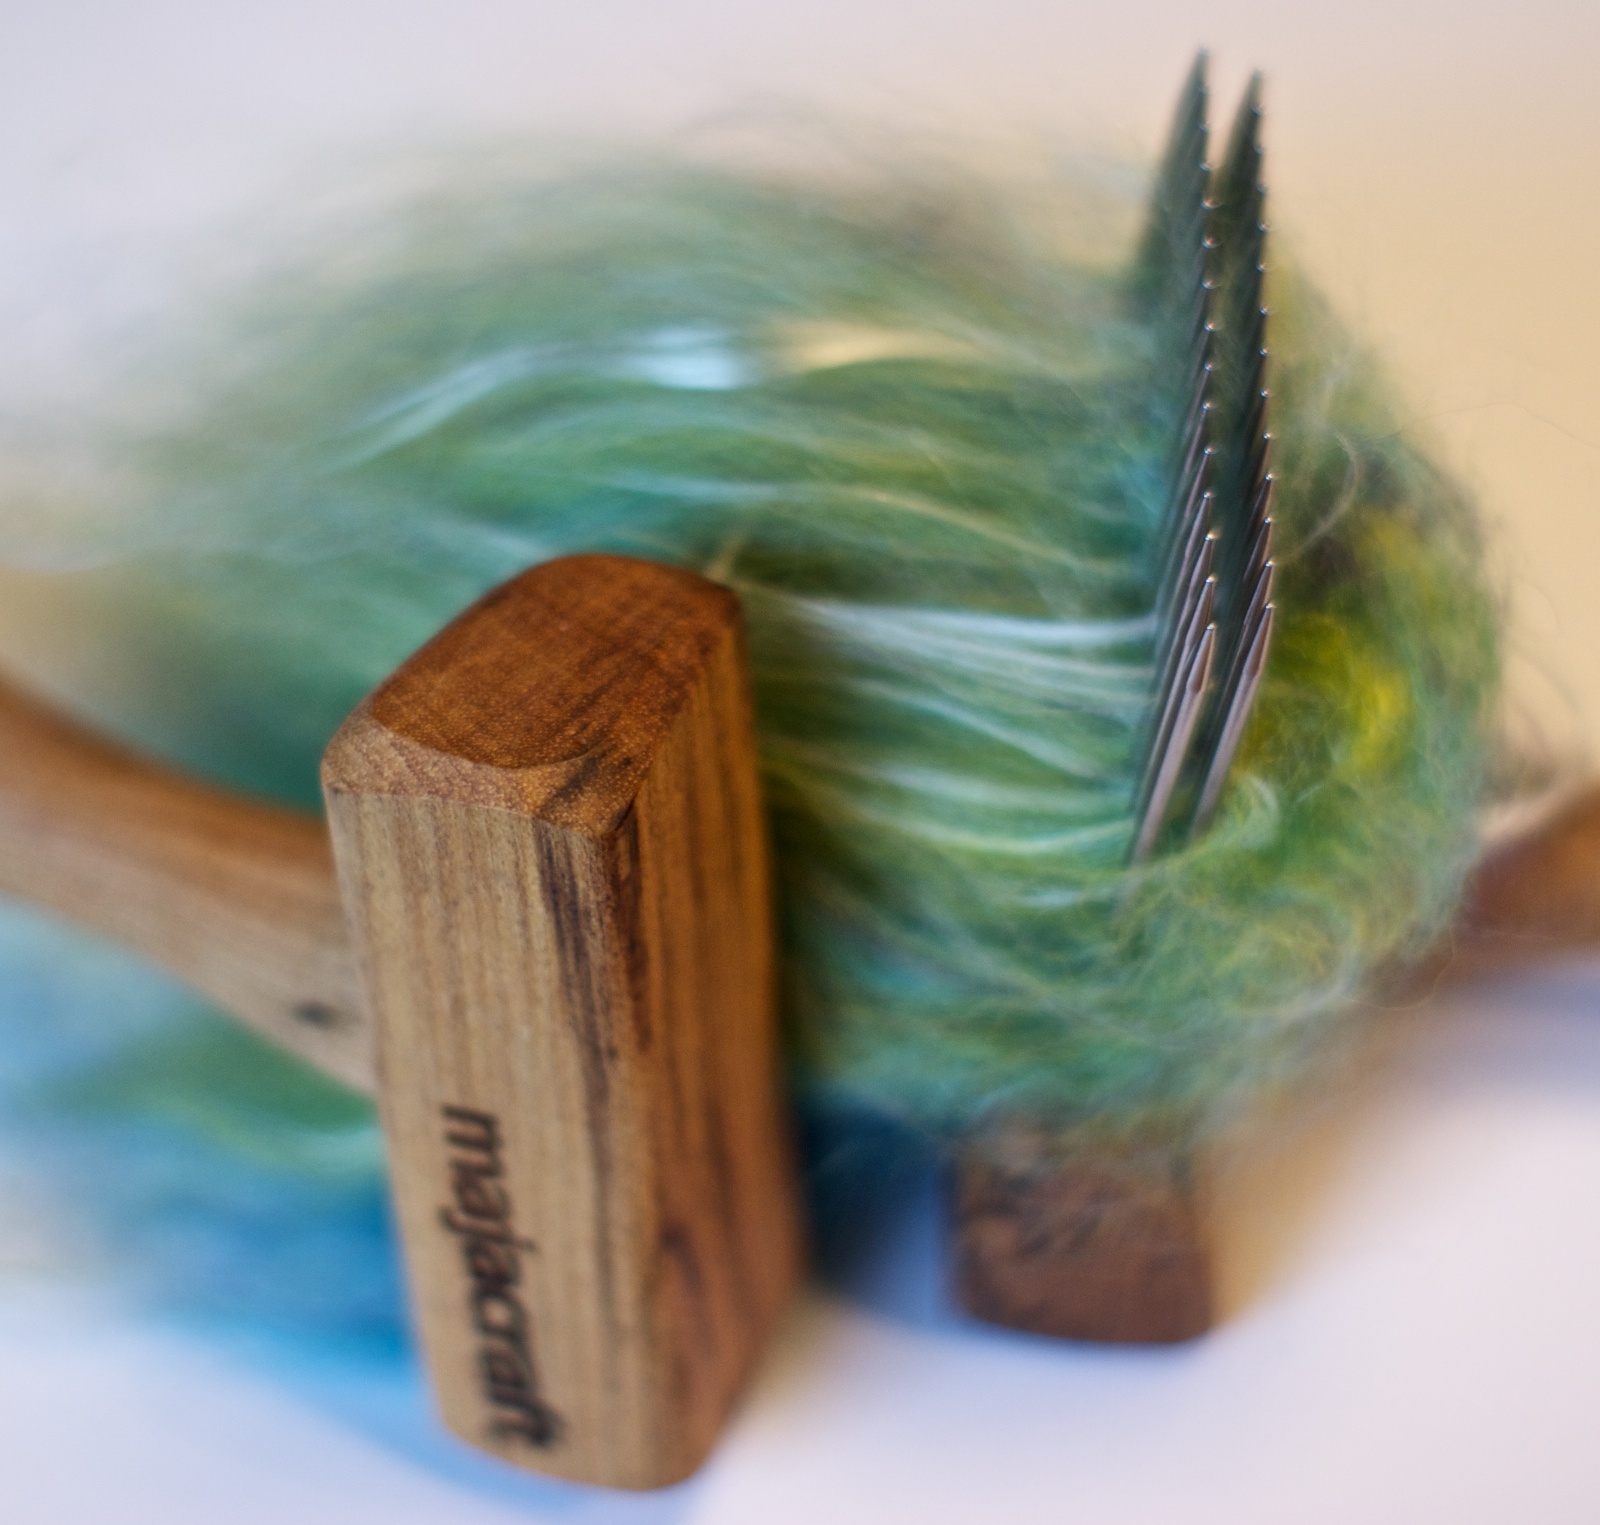
Using a hackle to make roving is one of my greatest fibre pleasures, and during workshops and demo’s, this kind of colour blending never fails to be met with excited comments and oohs and aahs. There are a number of different ways to blend colours on the hackle, each creating a different effect in the roving dizzed from it, and the subsequent yarn it makes. Its also a great way to add in sparkle and effect fibres such as silks and angelina. The roving prepared from the hackle is generally a smooth roving, more like the combed preparations, and suitable for all kinds of spinning, I especially like to corespin it to make the most of the colour effects.

I hope you have enjoyed this little overview, please jump on in with your questions for our next ‘Ask Suzy’ tool tips post!

You are always expanding my spinning experience! Thank ewe!
Do the tines on the blending board hold a significance to how you apply the fiber and how you take it off? I noticed that the tines are semi bent toward a certain way?
Terry
Yes Terry, you point the tips away from you and pull the fiber over them towards you, that way they catch best 🙂
Suzy,
I want to do the online spinning silk with you in October on the 21st, by then I will be used to my wheel and I am ordering some silk hankies and silk rovings. Something I am really interested in.
I am also wanting to do the Journey to the Golden Fleece as well when I get paid in the middle of September.
I went to add the spinning class for October to my cart, and i ist telling me something about a code I need.
Can you help me out so I can pay for it? Before it fills up?
Thanks,
Terry
Thanks for this. I’ve been looking at what tools to buy for colour blending the fibres I use for felting and this is really useful.
What prep is best for super chunky art batts for spinning art yarns?
Thanks bunches!!!
❤️Jessica
Juceyj03@gmail.com
Hi Jessica! Well to get a chunky art batt you need to include super chunky fibers! Choose fibers with curl and lofty crimp, Corriedales and Leicesters and Romneys always give good body. They will also give you texture. If you want something that is bulky and smooth as well you could just use a commercial roving of a medium fiber, you need as much loft as you can get to make the bulk without it turning into solid rope. If the fiber feels light and lofty then you should be able to get a light lofty yarn from it!