Tutorial home-made double row hackle
A while ago we ran an Evolution challenge on making rolags in many different ways, it was awesome, lots of innovation and wonderful fibers! One of the people who contributed was Ineke de Brouwer, with rolags she had created on her own home made hackle. I thought it would be a great thing to know how to make your own hackle, and Ineke very kindly made this tutorial to share with us! This is a great resource and I am very grateful to Ineke for providing this awesome information.
Ineke lives in my ‘other’ home, the Netherlands, where she spins and weaves some really beautiful things, She hopes to start a studio in the spring where she will give workshops in spinning and weaving. And on request sewing and making jewelry with glass beads, fibers and other materials. Until then she has a facebook page and I highly recommend visiting and liking it! Below is just a sample of Inekes work..
https://www.facebook.com/Trickythread/

And here is Ineke’s most excellent Tutorial for Making your Own Hackle!
You will need:
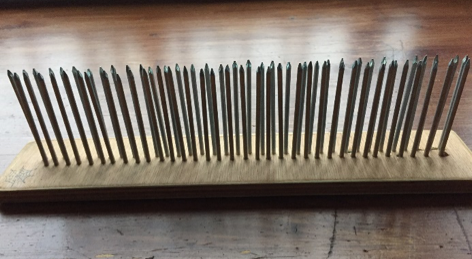
| measuring tape plywood board 30 x 6 cm / 11.8 x 2.3 inches 70 nails 0,3 x 8 cm / 0.11 x 3.14 inches small wood drill 0.2 cm / 0.08 inches column drill hammer 10 felt pads clamps |
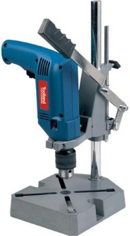 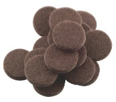 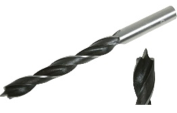 |
Working method:
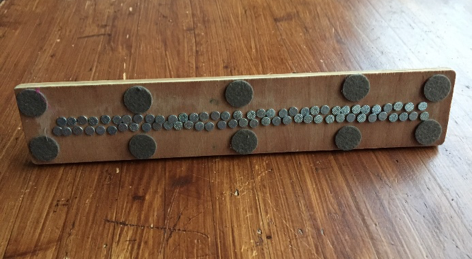
-Drill a row of holes 1 cm (0.39 inches) apart. Preferably with a column drill. (drill press)
-Drill the second row 1 cm (0.39 inches)behind the first row. Make the rows parallel.
-Hammer the nails into the holes.
-Attach felt pads to ensure that the hackle doesn’t slide and to avoid damage on the table.
You can fasten the hackle to the table with the clamps of your loom. You can buy clamps at the hardware store.
Great tutorial!! Thanks! I <3 DIY fiber equipment!
Wow. Thanks for sharing your making talents with us and I will definitely be trying this